Step 1: Download Armitage
The first step, of course, is to download Armtage. If you have BackTrack or the early versions of Kali, you probably don't have Armitage, but you can get it from Armitage's website.

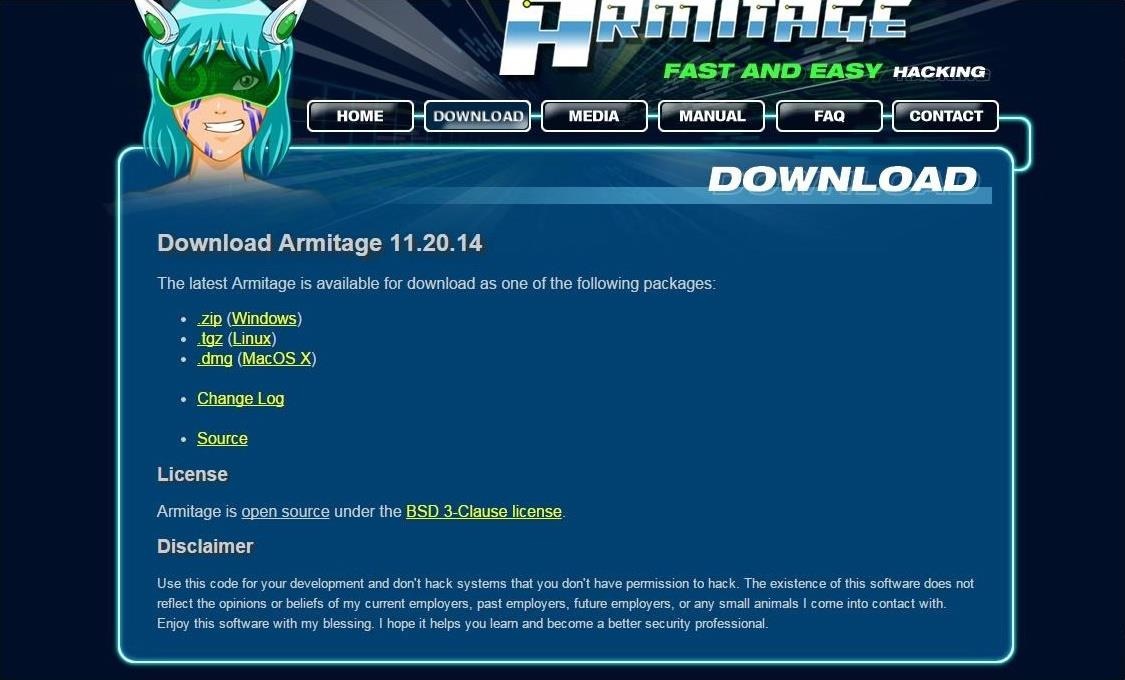
Click on the download button and it will pull up the following webpage. Make certain that you download the Linux version.

Another download option includes using the command line tool aptitude. Just type the following to install it.
kali apt-get install armitage
In addition, you can also use the GUI-based tool in Kali, the "Add/Remove Software," and search for "Armitage."

Step 2: Start Metasploit
Once you have Armitage downloaded onto your system, the next step is to start Matsploit. Make certain the postgreSQL server is started by typing:
kali > service postgresql start
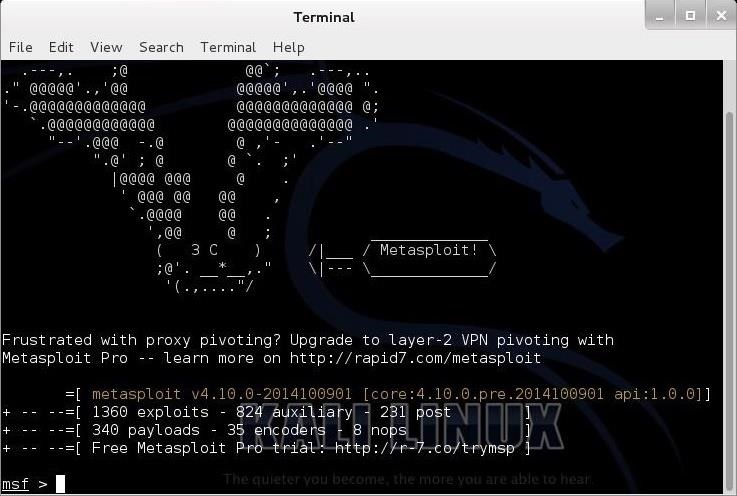
Now, start Metasploit by typing:
kali > msfconsole

Step 3: Start Armitage
Armitage uses a client/server architecture where Metasploit is the server and Armitage is the client. In essence, Armitage is a GUI client that I can interact and control the Metasploit server.
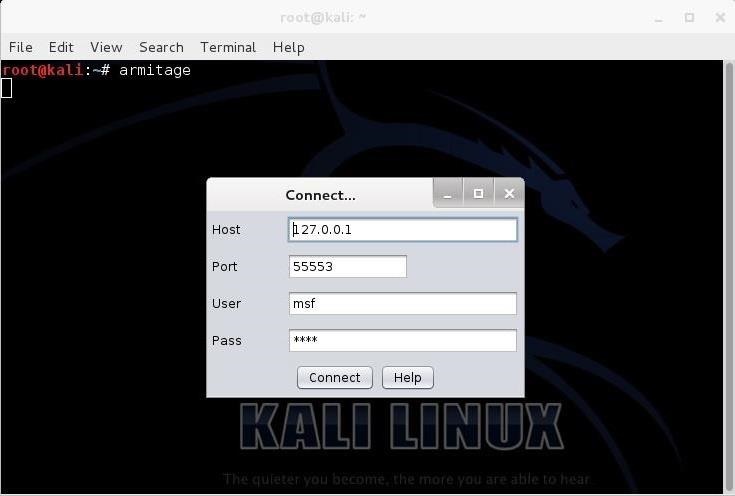
Start Armitage in Kali by typing:
kali > armitage
When you do so, you will see the following screen.

If you are running Metasploit from your "home" system, leave these default setting and click "Connect." If you want to run Armitage on a remote system, simply put the IP address of the system running Metasploit in the window asking you for the "Host."
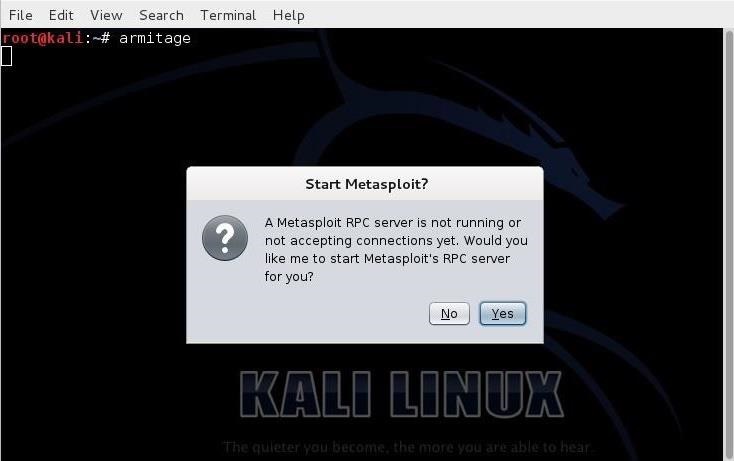
Step 4: Start the RPC Server
Armitage connects to an RPC server in order to control Metasploit. You are likely to see the following screen after starting Armitage.

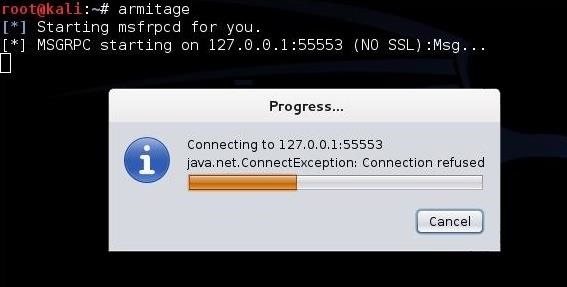
In some cases, it make take awhile to connect, such as in the screen below.

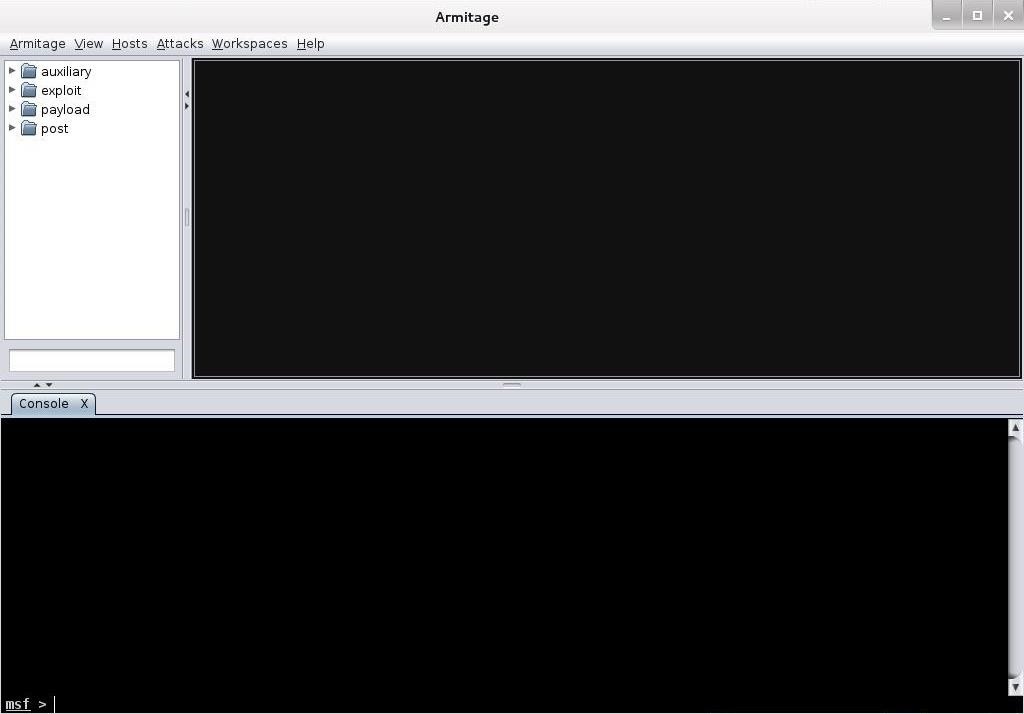
When Armitage finally connects to Metasploit's RPC server, you will greeted with the following screen.

Success! You are now running Metasploit from an easy to use GUI.
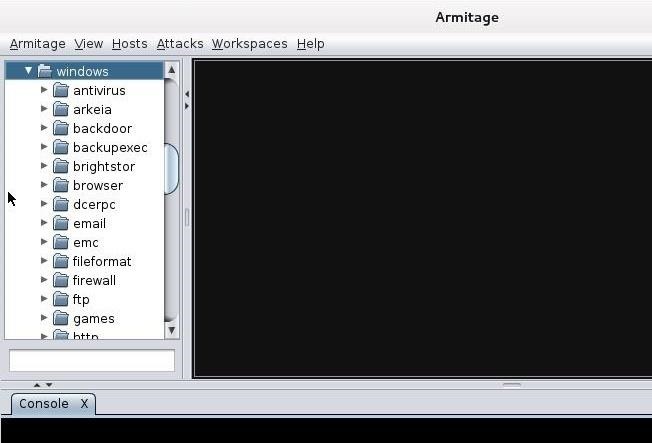
Step 5: Explore Armitage
Notice in the upper left-hand corner of the Armitage screen, you can see folders. These folders contain four types of Metasploit modules;
auxiliaryexploitpayloadpost
If you have read my earlier Metasploit tutorials, you know that this is how Metasploit organizes its modules. For the beginner, the exploit and payloadmodules are the most important.
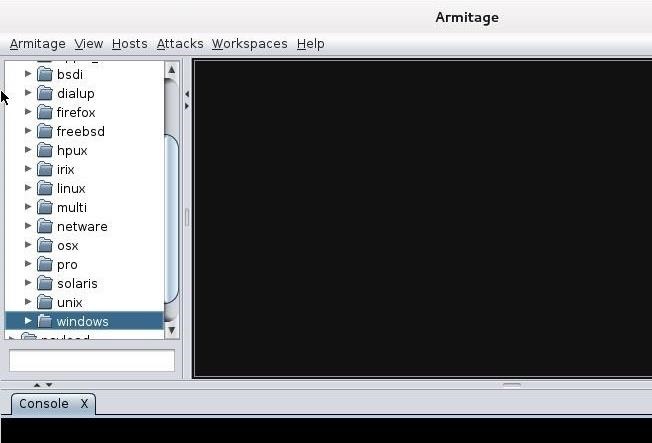
We can expand the exploit modules directory by clicking on the arrow head to its right. When we do so, it expands and show us its contents.

It categorizes the exploits by the type of operating system (OS) they are designed for, such as Windows, BSD, Linux, Solaris, etc. Remember, exploits are specific to an operating system, an application, ports, services, and sometimes even the language. If we scroll to the Windows subdirectory and expand it, we see all the Windows exploits categorized by type.

Now, when we are looking for an exploit to use on a particular system with a particular vulnerability, we can simply point and click to find it.
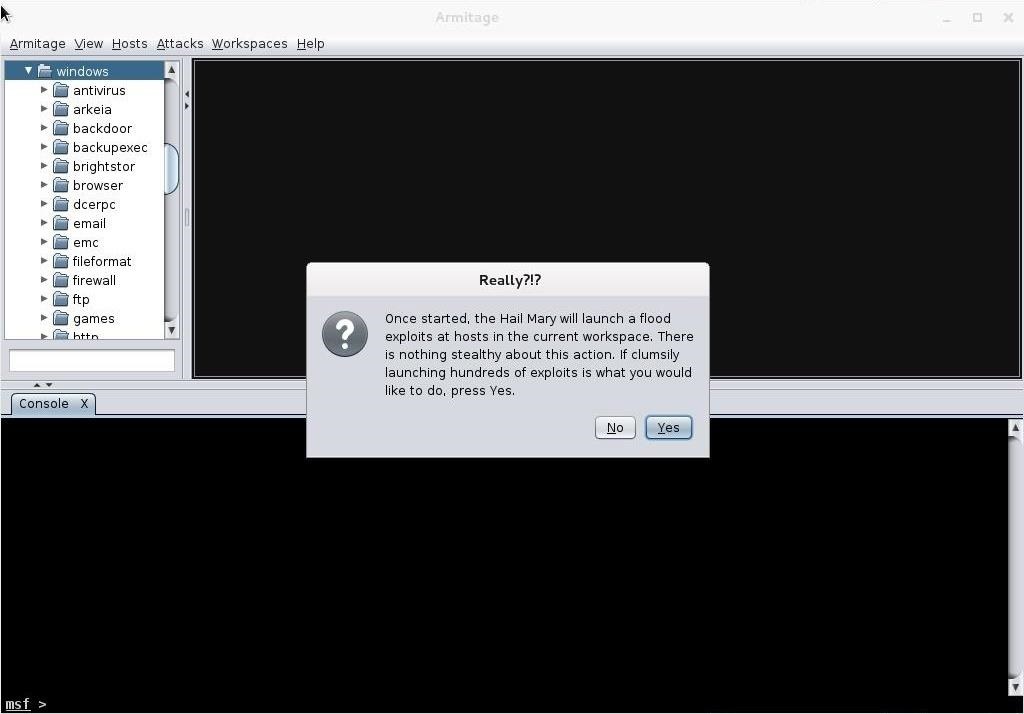
Step 6: Hail Mary!
Nearly everything you can do with the Metasploit console, you can with Armitage. There is one thing though that you do with Armitage that you cannot do with msfconsole (at least without scripting). That one thing is to throw the Hail Mary! The Hail Mary is where Armitage will throw every exploit it has against a site to see whether any of them work.
Simply go to the "Attacks" menu at the top of Armitage and select "Hail Mary." When you click on it it warns you like in the screen below.

This wouldn't really be effective in a hacking environment as its far from stealthy. It will create so much "noise" on the target that you will likely be detected immediately, but in a lab or pentesting environment, it can be useful to try numerous attacks against a target a see which, if any, will work.
Armitage enables the aspiring hacker to quickly grasp the basics of Metasploit hacking and begin to use this excellent and powerful tool in very short order. We all owe Raphael Mudge a debt of gratitude for developing and giving away this excellent piece of software!
Comments
Post a Comment
plz add ur comment here